
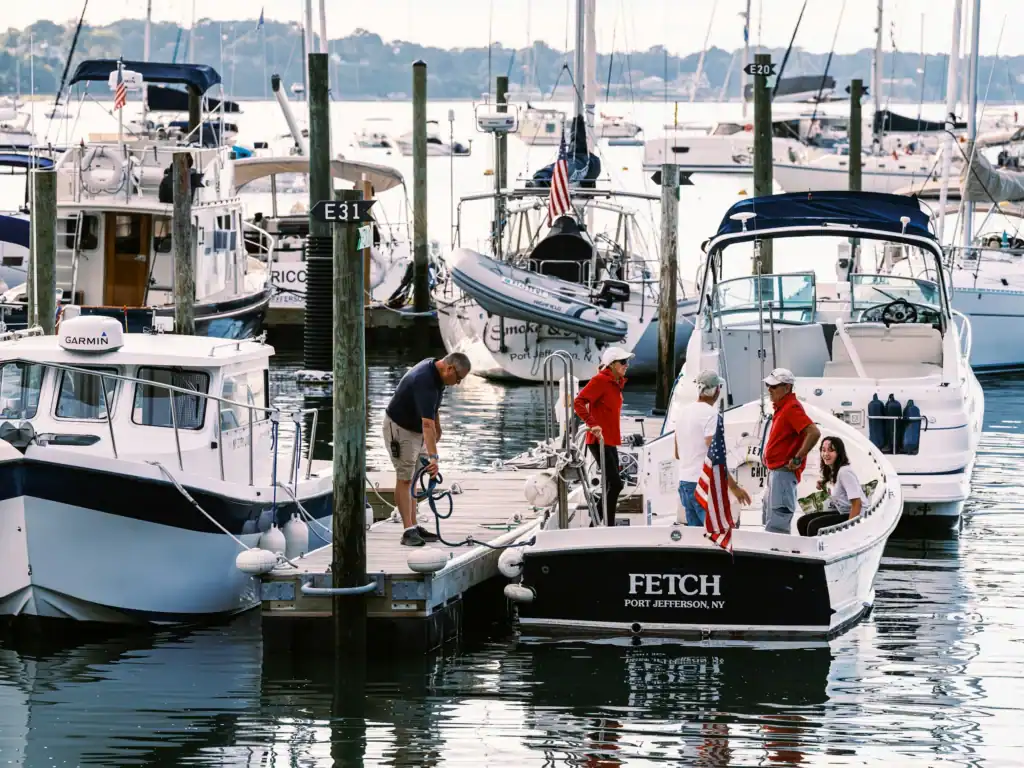
Renting a yacht for the first time is thrilling — but the check-in process can be a minefield if you’re not prepared. A rushed or careless handover can ruin your trip or cost you a chunk of your deposit. This guide walks you through a complete and professional charter yacht check-in—the kind that seasoned skippers do.
1. Before You Even Begin
Ask early: Ask marina staff, a marinero, or the charter representative:
- Where can you buy fresh fish right now? Get local fish for the entire passage — you’ll likely not get a second chance once you leave port.
- Where is the nearest supermarket?
- Where can you arrange transport to and from the supermarket? Large provisioning loads may not fit a standard taxi. Ask marina staff about local service providers or supermarket delivery before shopping.
Assign roles:
- Choose one or two experienced or simply smart and detail-oriented crew members to assist you with the check-in process.
- Appoint another crew member — someone not involved in the check-in — to manage the onboard fund (also known as the “boat kitty”). Ask them to record the agreed contributions and starting balance in a shared expense log.
- All crew members not involved in the check-in should go provisioning — or at least head into town for a walk or coffee for a couple of hours. Give the provisioning team an agreed grocery list and budget before they leave. Keep only the people needed for the handover on board so the inspection can proceed without unnecessary distractions.
Agree the boat kitty and other contributions in advance; see Shared Expenses on Board: What’s Fair and What’s Not.
- With the consent of everyone involved and subject to marina rules, use a hands-free camera or phone to document the handover. Do not let filming distract you from moving safely around the yacht.
Turn on:
- Shore power (or the yacht’s main AC switch, depending on the system).
- Fridge(s) — they take time to cool down.
- Open the hot water tap and let it run for 2 minutes. Is the water hot or cold? Ideally, it should be cold — this helps confirm if the boiler is working properly later.
- Switch on the electric water heater (boiler) via the control panel.
2. Document Everything
Video is king. Start filming as soon as you board.
- Do a walkaround of the entire hull, from bow to stern, first on one side and then back on the other.
- Look for: scratches, dents, bent stanchions, anchor damage on the bow, signs of pontoon hits on the stern.
- Count the number of fenders — write it down.
- Visually inspect guardrails and lifelines and report looseness, corrosion, missing fittings, or damage. Do not use your body weight as an improvised load test.
- Ask the charter representative whether an underwater inspection is permitted and how it should be done. Keep people and equipment away from the propeller and other moving machinery; make sure engines cannot be started during any approved inspection. Document fishing line, rope, chips, or cracks around the propeller and rudder without putting anyone at risk.
- Photograph and show any damage to the charter manager.
3. Inventory & Safety Equipment
Check and write down the location and condition of:
- Life jackets and harnesses for every crew member.
- Ask the representative to show the life raft location, service date, and deployment instructions. Do not disturb its securing or deployment gear during check-in.
- Flares — check the expiration date.
- Fire extinguishers — location and quantity.
- Wooden bungs (for seacock emergencies).
- First aid kit, spare parts, repair tools.
- Test the dinghy pump and adapter — ensure they fit and work. Check oars, fuel can, and lock cable.
- Boat hook, winch handles (at least 2), cockpit cushions.
- Snorkel gear, SUPs, fishing rods — if included.
- Ask the representative to demonstrate the automatic bilge pump, alarm, and manual override according to the yacht’s instructions. Do not pour water into the bilge unless the owner or operator specifically authorizes the test.
- Test the deck shower and locate its shut-off valve.
- If you notice unusual battery odor, heat, swelling, or leakage, keep clear and tell the representative immediately. Do not touch or test a suspect battery yourself.
- Find out how the batteries are mounted and where the main battery switches are.
- Find the onboard binoculars & compass — are they intact?
4. Rigging & Sails
- Visually inspect shrouds, stays, terminals, and chainplates for looseness, corrosion, broken strands, or damage. Do not hang from or load-test the rigging; report anything unusual to the charter representative.
- Make sure split pins and locking wires are secure.
- With the charter representative, and only when berth and wind conditions allow, demonstrate the normal operation of the sails and furling or reefing systems.
- Learn how to reef the main.
- Inspect all lines: sheets, halyards, reefing lines.
- Test rope clutches — make sure none of the levers are broken.
- Ask the base staff to identify or label unfamiliar controls and lines. Do not add tape or markings without permission, and never cover a warning, indicator, or control.
- Test all winches. Count the handles and note their condition.
- Uncoil and inspect mooring lines — count them and write down their length and condition.
- Where is the spare anchor? How much rope does it have?
- Ask the base staff to identify unfamiliar electrical-panel controls and cockpit clutches. Do not add tape or markings without permission.
5. Dinghy & Outboard
- Is the dinghy holding air? Check for visible damage.
- Test pump and adapter — inflate manually. There have been cases where a pump is onboard, but it turns out unusable because the adapter doesn’t fit the dinghy — and you’re stuck mid-cruise without a tender.
- Check oars + locks — do they fit?
- Ask the representative to start and demonstrate the outboard in a safe, ventilated location with the cooling-water intake supplied as required by its manual. Check for leaks without touching moving or hot parts.
- Check for: kill switch, wrist cord, dinghy anchor, towing line, bailing scoop.
- Confirm the exact fuel and oil specified for the outboard from its label or manual. Never guess a fuel-to-oil ratio or mix fuels unless the manufacturer’s instructions require it.
6. Engine & Windlass
- Turn off the electric water heater.
- Open the hot water tap again — is the water warm now?
- Ask the representative to demonstrate the correct shore-power isolation and disconnection sequence before checking the battery voltage.
- Open the engine compartment. Check belt tension, oil level, and coolant level. Where is the intake seacock for the cooling circuit?
- Check saildrive oil — level + it should not be milky or white (indicates water inside).
- Do you have spare oil and transmission fluid?
- Is there a spare diesel canister on board?
- Start the engine and see if voltage increases (charging).
- Make sure you understand battery charging procedures.
- Confirm water is flowing from the exhaust (cooling system).
- Test forward and reverse gear engagement.
- Check for strong acid smell near batteries.
- Switch the engine to neutral (you may need to push the small button on the throttle control to disengage the gear).
- With the representative, run the engine only as instructed and test the windlass from each fitted control. Keep hands, feet, clothing, and loose gear away from the chain and gypsy.
- Ask where the breaker for the windlass is located — it’s often hidden and frequently trips.
- Test the manual emergency mode.
- Check chain length, markings, and condition.
- How is the anchor secured/lashed?
- Check if the bow thruster works properly!
7. Systems Below Deck
- Check charts, manuals, and pilot books — are they in your language?
- Ask which VHF channel local authorities or the base specify for radio checks. Keep channel 16 for distress, urgency, and calling as locally permitted.
- Test all instruments: GPS, chartplotter, autopilot, depth sounder, speed, wind.
- Are units set to familiar formats (meters, knots, etc.)?
- Test all fans, lights, marine toilets, showers, bilge pumps.
- Turn on all cabin and navigation lights — verify visually from outside.
- Turn on the stereo — are the speakers working?
- Is there a water level indicator or water flow meter?
- Is there WiFi onboard? How to access it, and how to monitor data usage?
- Ask the representative to demonstrate the installed generator and air conditioning. Confirm ventilation, exhaust outlets, and carbon-monoxide alarms; never run a portable generator in or near an enclosed cabin.
8. Galley
- Ask the representative to demonstrate the gas shutoff, stove, and oven. If you smell gas or suspect a fault, shut the system down as instructed, ventilate, and do not use it until checked.
- Are all burners working?
- Check that you have enough gas — and a spare bottle.
- Check if there’s a gas lighter or matches onboard.
- Locate and test fresh/salt water pumps at the sink.
- Check all taps, sinks, drains, fridge and freezer — by now, they should be cool.
- Ask how to switch between water tanks if there are multiple.
9. Navigation & Safety Briefing
Ask the base manager:
- Cruising RPM and max RPM?
- Which seacocks must remain closed while underway?
- How to check engine oil, coolant, and fuel levels?
- Where is the oil stored for refills?
- Where is the fuel dipstick or method of checking tank level?
- Manual shutoffs for gas, water, and batteries.
- Where is the emergency tiller?
- Where is the secondary anchor stored? Chain or rope for it and length of it?
- Is the depth sounder calibrated from the keel or waterline?
- How long can you use the bow thruster continuously?
- Ask for the emergency contact phone number.
- Clarify:
o Return time
o Refueling rules
o Holding tank emptying procedure
10. Final Procedures & Paperwork
- Record engine hours and fuel level. Take a photo.
- Record the agreed fresh-water and fuel levels before departure; do not assume either tank must be full unless the agreement requires it.
- Check all required documentation:
o Yacht registration certificate
o Cruising permit
o National park or protected area permit
o Fishing license (if applicable)
o Crew list (manifest)
This process may take time, but it supports a better-prepared start with clearer responsibilities and a documented handover.
🧭 Check out more essential guides on Yacht Academy.